
Kali Linux Virtual Lab Setup
Overview
This project outlines the step-by-step setup of my Kali Linux lab environment using VMware Workstation Pro. It serves as the foundation for running penetration testing tools and building a hands-on cybersecurity lab.
Objectives
- Create an isolated lab for safe offensive/defensive tool testing
- Set up Kali Linux with internet access and proper resource allocation
- Enable snapshotting and secure network configurations
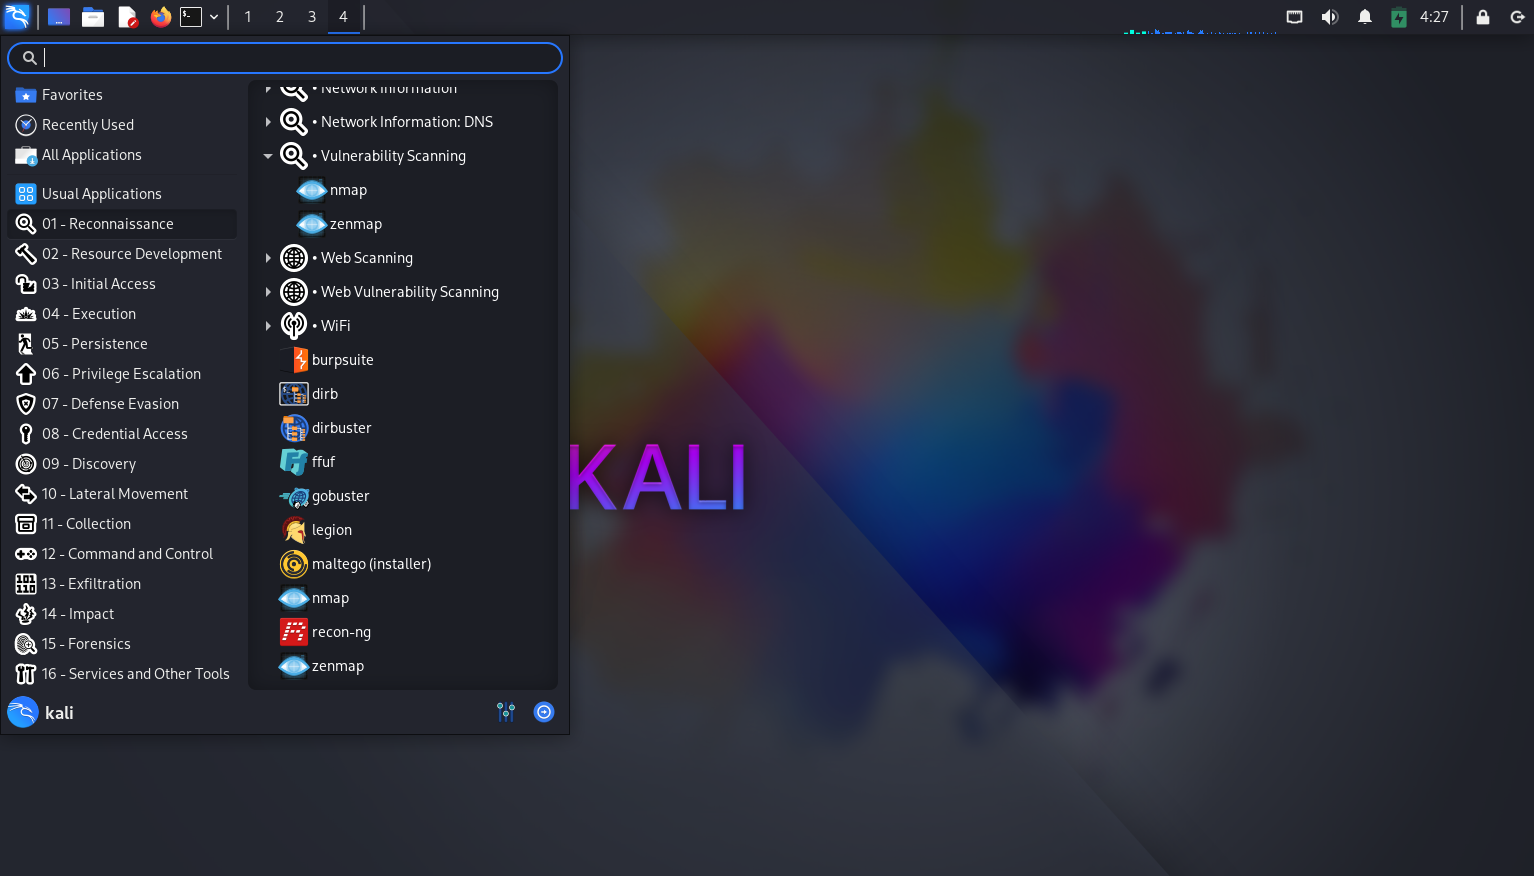
Tools Used
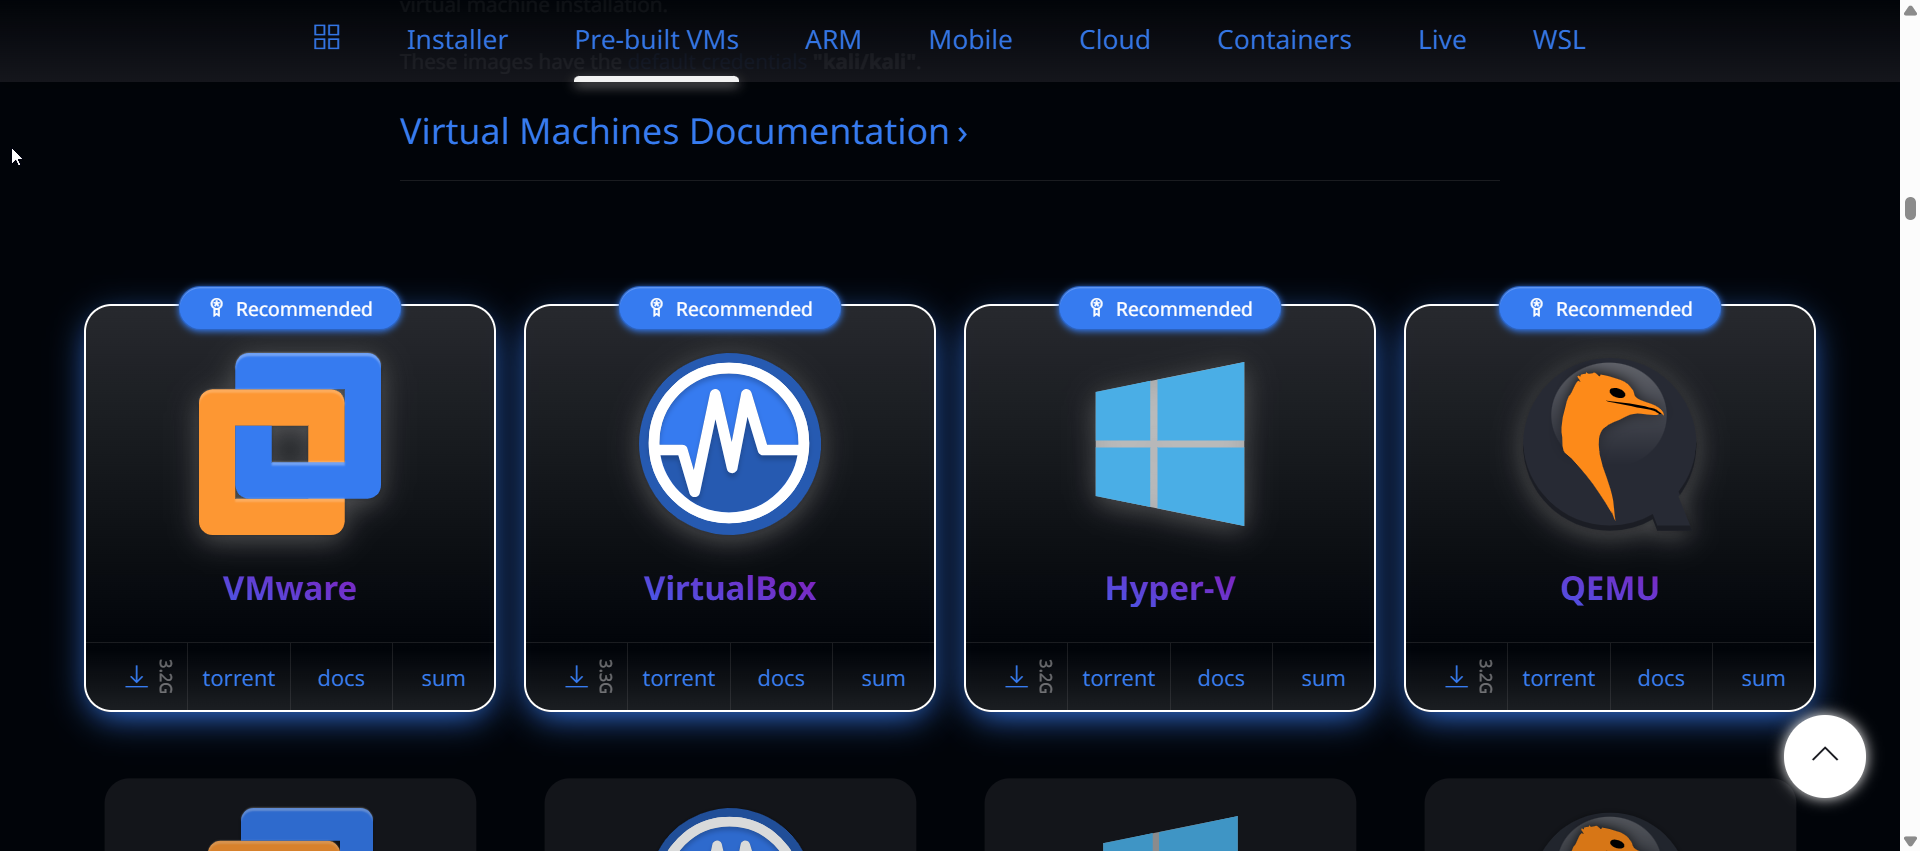
- Kali Linux (VMware pre-built ISO)
- VMware Workstation Pro
Setup Highlights
-
Downloaded the Kali for VMware ISO from Offensive Security
-
Loaded it directly into VMware Workstation—no manual installation required
-
VMware Tools preinstalled—full-screen and clipboard sharing worked out-of-the-box
-
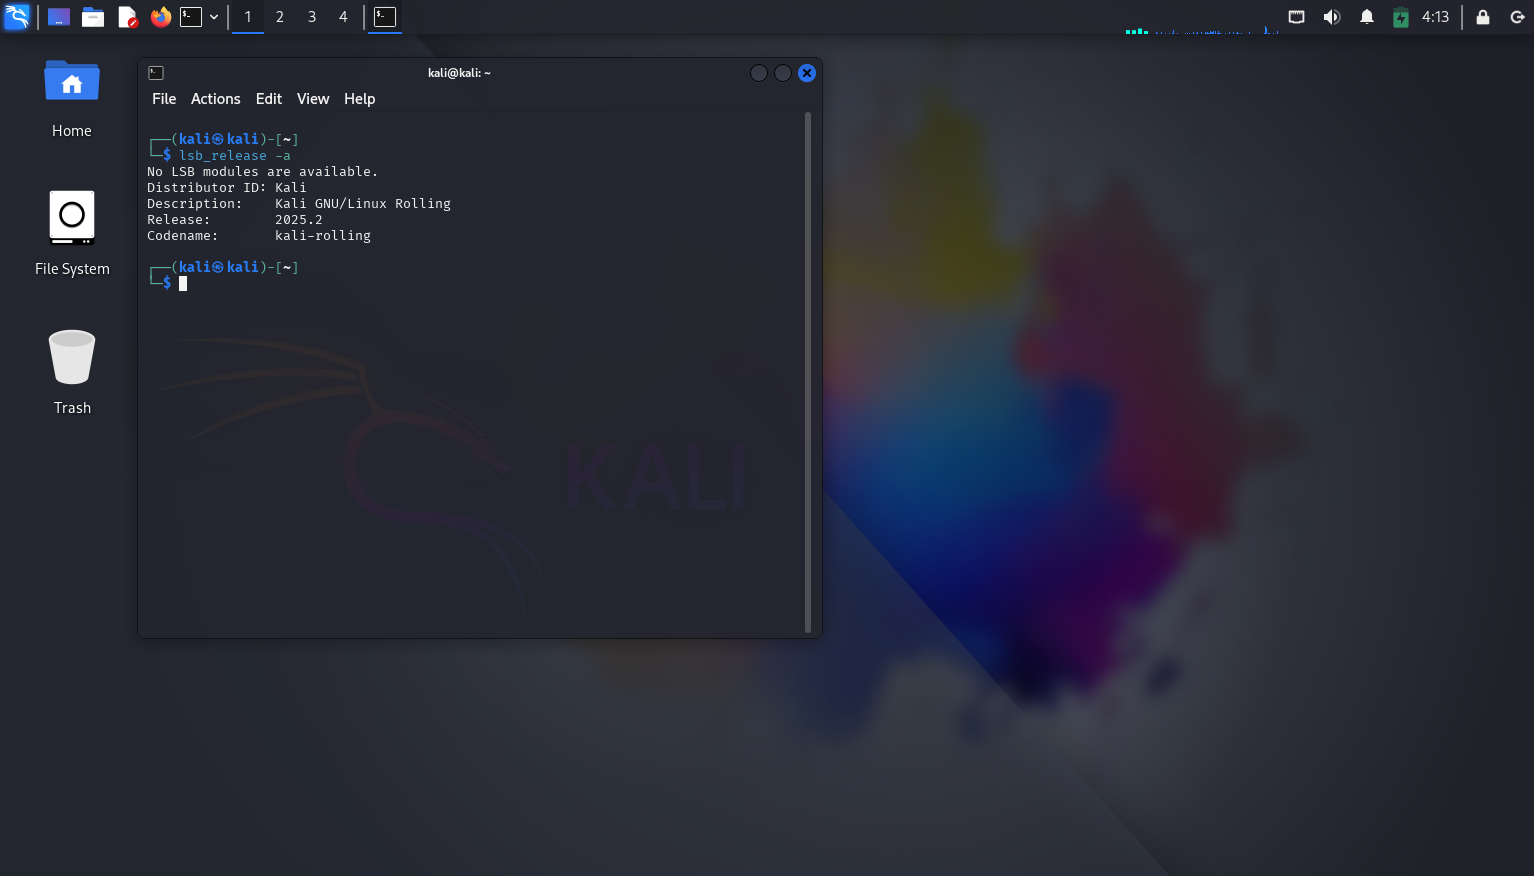
Performed
sudo apt update && sudo apt upgradeto bring all tools and packages up to date -
Updated the OS via terminal
-
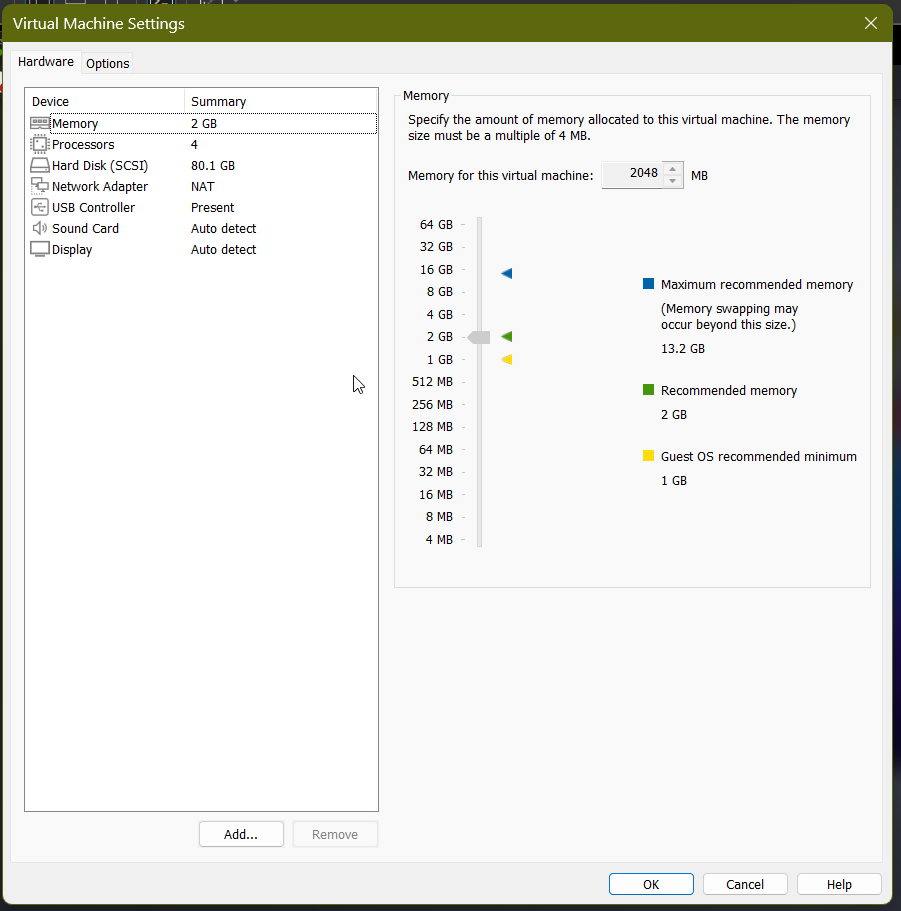
Configured VM with custom specs (4GB RAM, NAT networking, etc.)
-
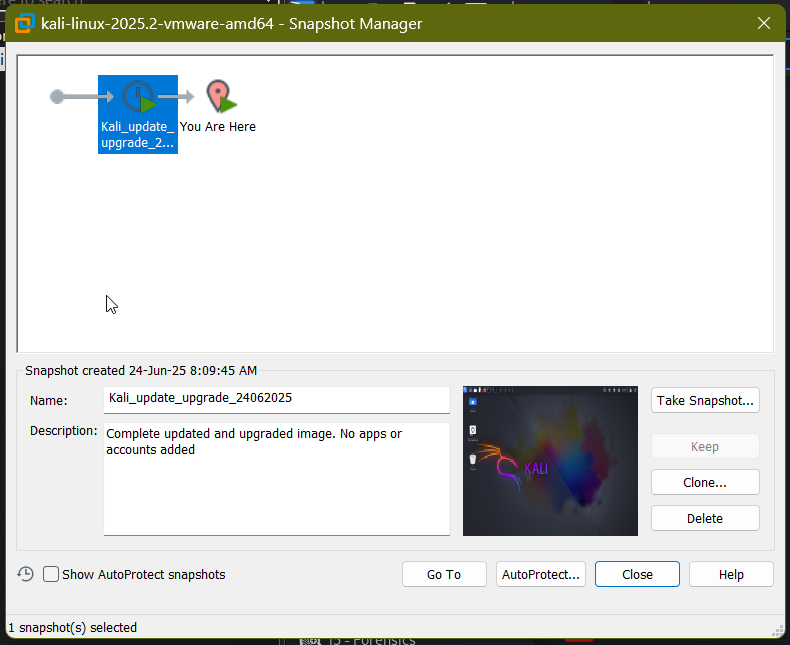
Created a post-upgrade snapshot
What I Learned
- Networking tradeoffs: NAT vs Bridged for isolated testing
- Snapshot management for safe experimentation
- Optimizing VM performance for a smoother Kali experience
Next Steps
-
Install custom tools: Wireshark, Python libraries, and security scripts
- Set up a target VM (e.g., Metasploitable or Windows 10)
- Run basic enumeration and vulnerability scanning exercises
This setup marks the first milestone in building a fully operational lab environment. It’s the launchpad for future projects in threat detection, scripting, and log analysis.